How to Build Your Own Simple Poll Slack App
Introduction #
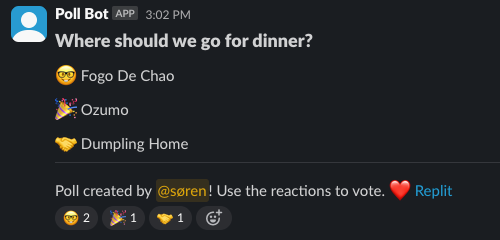
Poll Slackbots are a great tool for sourcing async decisions, as well as having fun. For an off-the-shelf polling Slackbot, you may have to pay $100+ per month. It turns out, it's actually very easy to build and host on Replit for an order of magnitude less. This step-by-step guide will walk you through building and deploying your own polling Slack bot with no coding experience needed.
Getting started #
To get started, fork the template below:
Create a new Slack App #
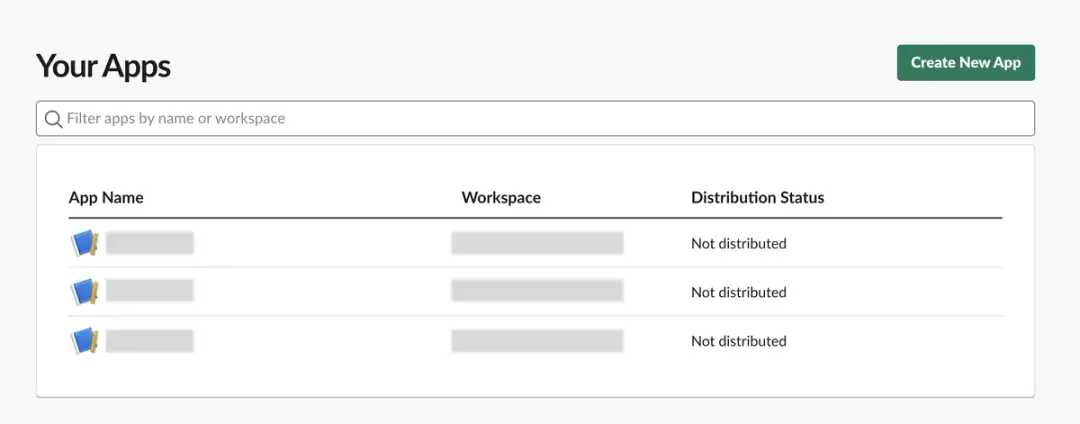
Go to the Slack API website and navigate to your apps dashboard. Click on "Create New App."
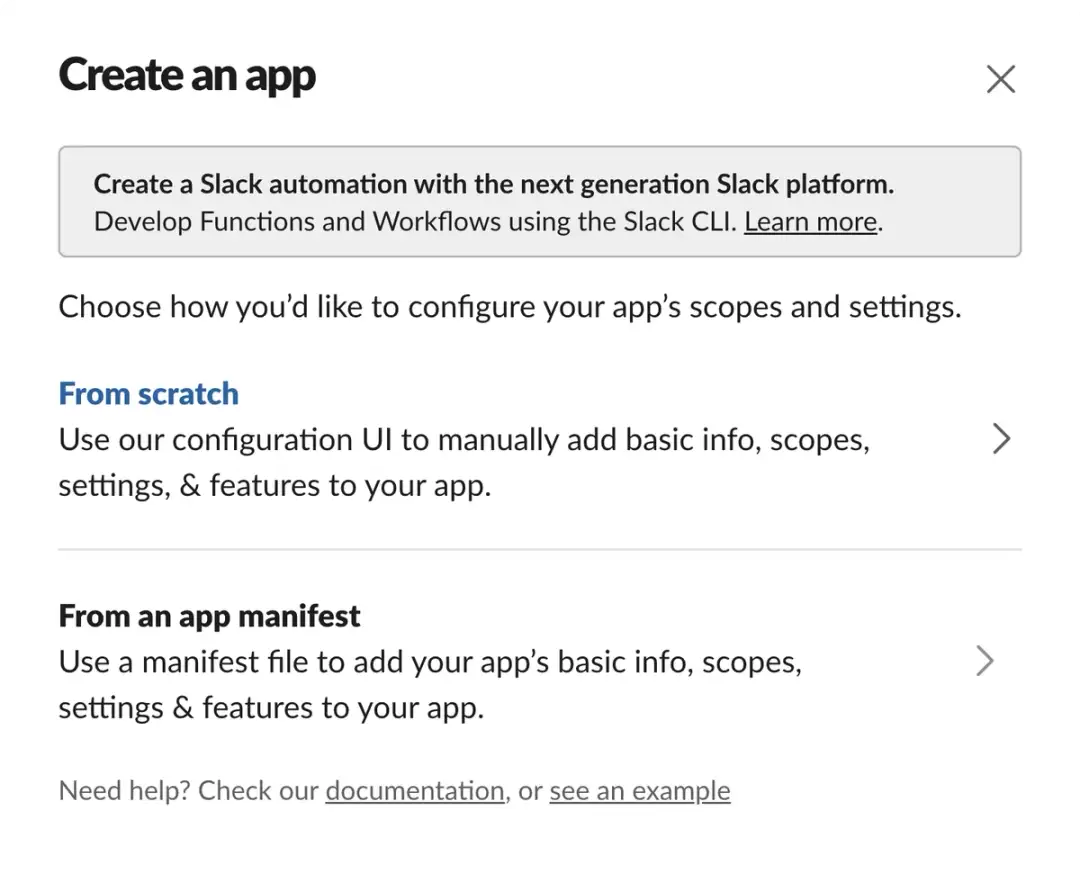
Select "From an app manifest". Select the Slack workspace you want to add your bot to.
Paste the code above from `manifest.json` into the manifest file on Slack. This manifest already includes the correct request_url field with the Replit deployment URL, appended with /slack/events.
Install the app to the workspace #

On your app page, scroll down until you see the ability to "Install App to Workspace." Follow that process.
Add secrets #
Scroll down to the "App credentials" section, and copy and paste the following credentials into the Secrets pane in Replit:
- SLACK_SIGNING_SECRET - The "signing secret" for your app, found on the "Basic Information Page"
- SLACK_APP_TOKEN - The app-level token, found under "App Credentials" on the "Basic Information" page
- SLACK_BOT_TOKEN - The bot token for your app, found on the "OAuth & Permissions" page
Building the bot #
Import packages
Begin by importing the correct packages into main.py:
- logging, os: Standard Python libraries for handling logging and operating system interactions.
- flask, request, render_template: Flask libraries for creating web applications and handling HTTP requests and responses.
- slack_bolt, SlackRequestHandler: Libraries for creating Slack applications and adapting them to work with Flask.
- random_emojis: A custom function from `emojis.py` that shuffles and returns a list of emojis.
Slackbot setup
First, we are going to establish some demand-related constants:
Here's more on what they mean:
- COMMAND_NAME: The name of the Slack command to be used.
- COMMAND_DELIMITER: Delimiter to split the command into question and options.
Second, we will set up some logging. This is optional, but it can be helpful information for debugging:
Third, we need to use the Secrets you set up in the previous section. Let's make them accessible to our program:
Finally, we need to initialize the Slack App, so it has the secrets we made accessible. This will ensure Slack knows to grant access to the bot:
Set up command handler
Next, we need to set up route that handles the initial request to the bot. We will call this the command handler.
The code above defines the command handler (`handle_command`) with the following specifications:
- The command handler is defined for the /poll command.
- ack(): Acknowledges receipt of the command.
- random_emojis(): Generates a shuffled list of emojis.
- Splits the command text into a question and options.
- Checks if there are at least two options, returning an error message if not.
- Constructs a Slack message with the question and options.
- Posts the message to Slack.
- Adds emoji reactions corresponding to the poll options.
Set up an error handler
We want to make sure we capture requests that do not work, so we will create an error handler:
Set up the Flask server
We need a server for this bot, so we will use a common approach called Flask. Here is the code:
This code above does the following:
- Initializes a Flask app (flask_app) and configures routes for Slack events, health checks, and the index page.
- /slack/events: Endpoint to handle Slack events.
- /health: Health check endpoint returning "OK".
- /: Index page that renders a web page with the app's deployment status and manifest information.
Finally, we need to add some code that starts the server when the app is run:
Deploy your bot #
Finally, deploy your bot to a Reserved VM. Make sure to select "Background worker."
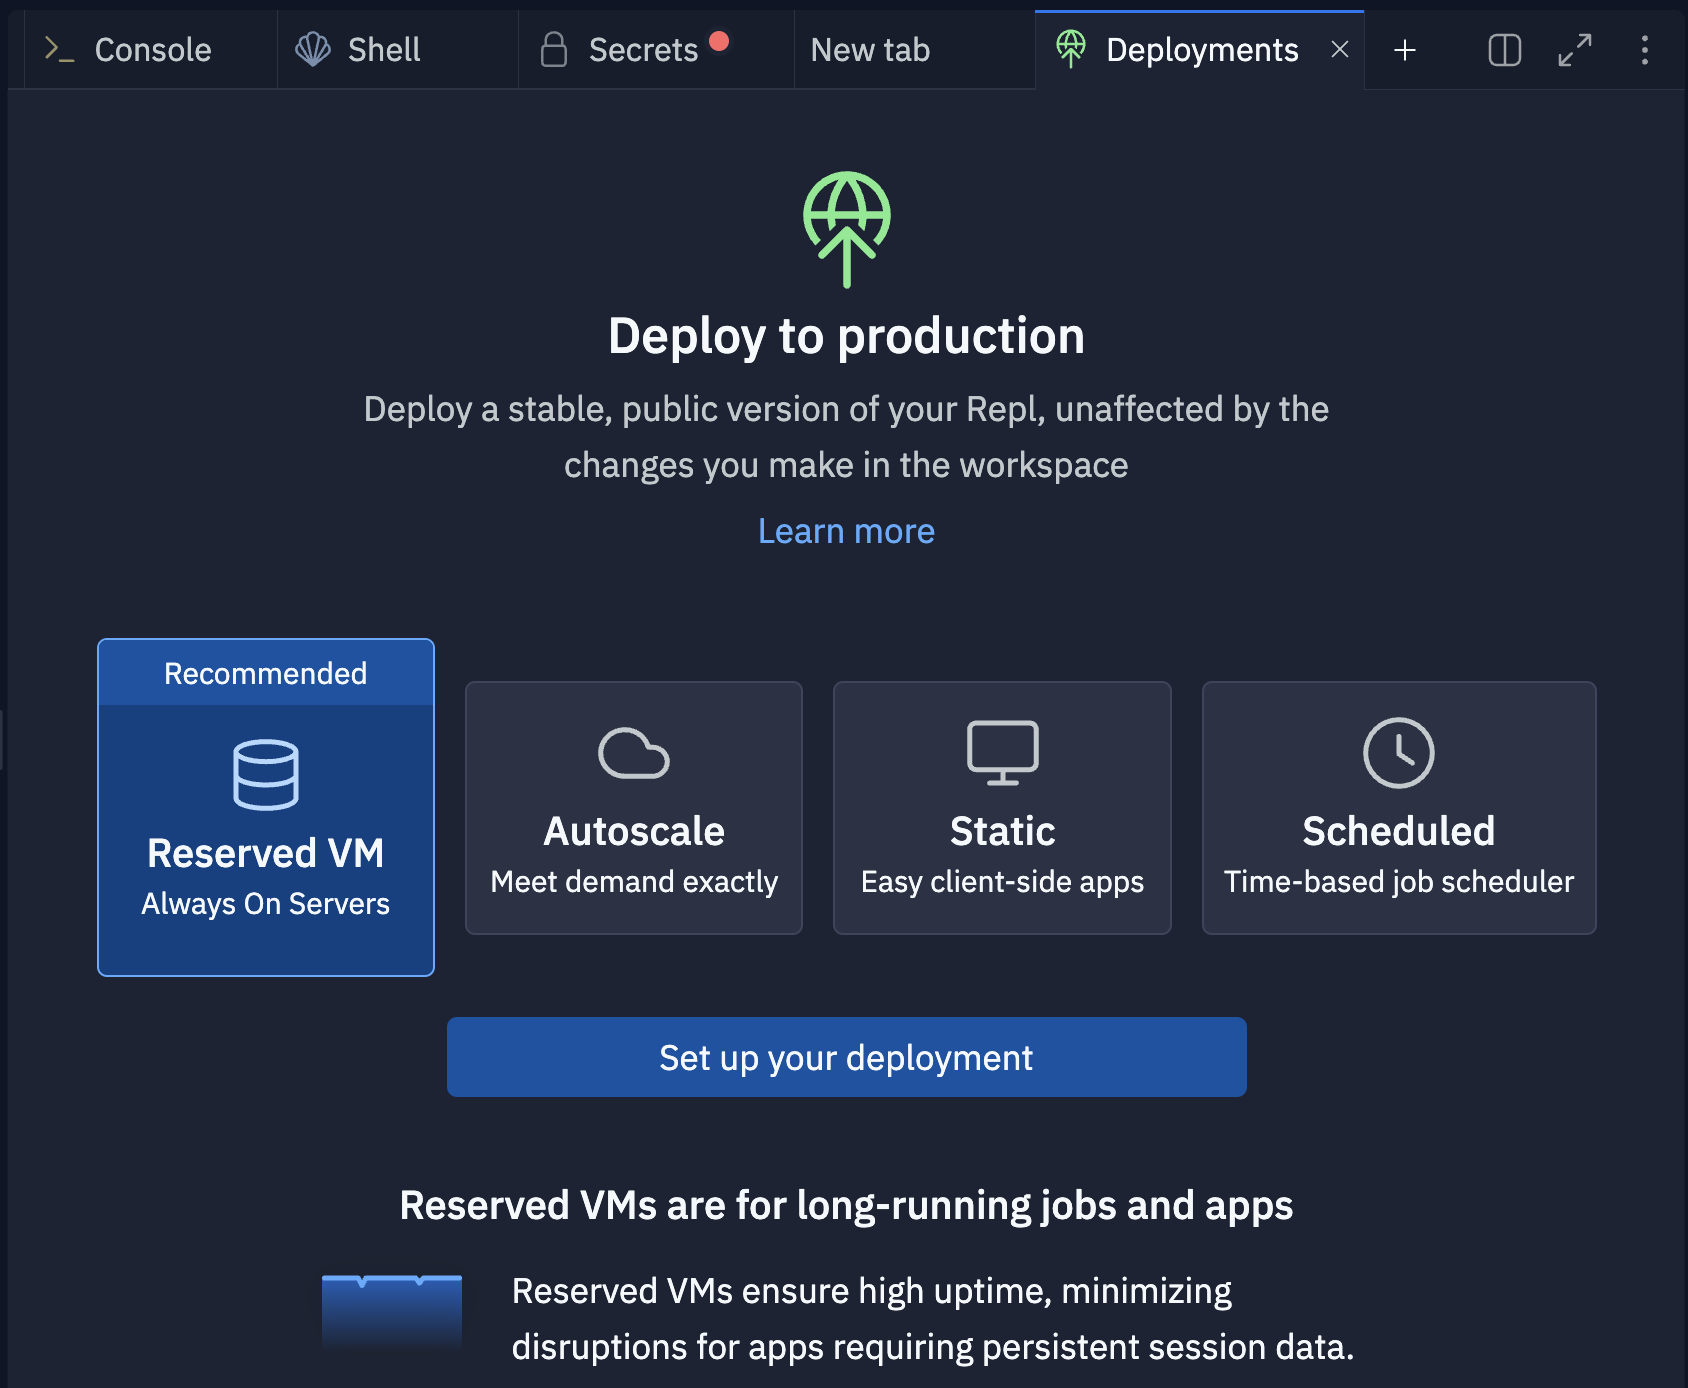
IMPORTANT NOTE: Once your application is deployed, you need to add your deployed URL to the Secret defined as `REPLIT_DOMAINS`. Then Redeploy the application.
On the next screen, click Approve and configure build settings most internal bots work fine with the default machine settings but if you need more power later, you can always come back and change these settings later. You can monitor your usage and billing at any time at: replit.com/usage.
On the next screen, you’ll be able to set your primary domain and edit the Secrets that will be in your production deployment. Usually, we keep these settings as they are.
Finally, click Deploy and watch your bot go live!
What's Next #
If you’d like to bring this project and similar templates into your team, set some time here with the Replit team for a quick demo of Replit Teams.
Happy coding!

