AI Support Specialist With Groq - Part I
Guide overview #
What will you learn in this guide? #
You will get an introduction into setting up a free open-source model with Groq Cloud. You will then connect the application to an Airtable database that contains sample product pricing and customer order information.
You will then combine the power of an LLM and function calling to create a customer service representative that can look up pricing information and create orders in the Airtable database.
What is Groq Cloud? #
Groq is an open-source, cloud-native, and scalable framework for building and deploying AI models. It is designed to simplify the process of building, training, and deploying AI models, making it more accessible to developers and data scientists.
What is function calling? #
Function calling (or tool use) is the process of a Large Language Model (LLM) invoking a pre-defined function instead of generating a text response. Here are three examples:
- Real-time information retrieval - Access up-to-date information by querying APIs, databases, or search tools. For example, an LLM could query a Weather API to provide answers on local forecasts
- Mathematical calculations - LLMs can struggle with mathematical computations. Instead, a user could define a specific calculation and have the LLM call that function.
- API integration for actions - Leveraging APIs to take actions like booking appointments, managing calendars, sending emails, and more.
Why should I use function calling? #
LLMs are non-deterministic. This offers creativity and flexibility for applications, but it can also lead to risk of hallucinations, inconsistencies, or querying outdated data. In contrast, traditional software is deterministic, executing tasks precisely as performed but lacking adaptability.
Function calling enables the best of both worlds. Your application can leverage the flexibility of an LLM while ensuring consistent, repeatable actions with a subset of pre-defined functions.
Getting started #
To get started, fork this Groq template.
Set up a Groq API key #
We will be using Meta's Llama 3-70B model for this project. You will need a Groq API Key to proceed. Create an account here to generate one for free.
Once you have generated a key from Groq’s console, open the Secrets pane on Replit and add paste the key in a secret labeled “GROQ_API_KEY.”
Set up your Airtable base connection #
We will use Airtable for our backend. In this case, we want a set of customer data that our AI application can query. We have created an Airtable base with sample data here.
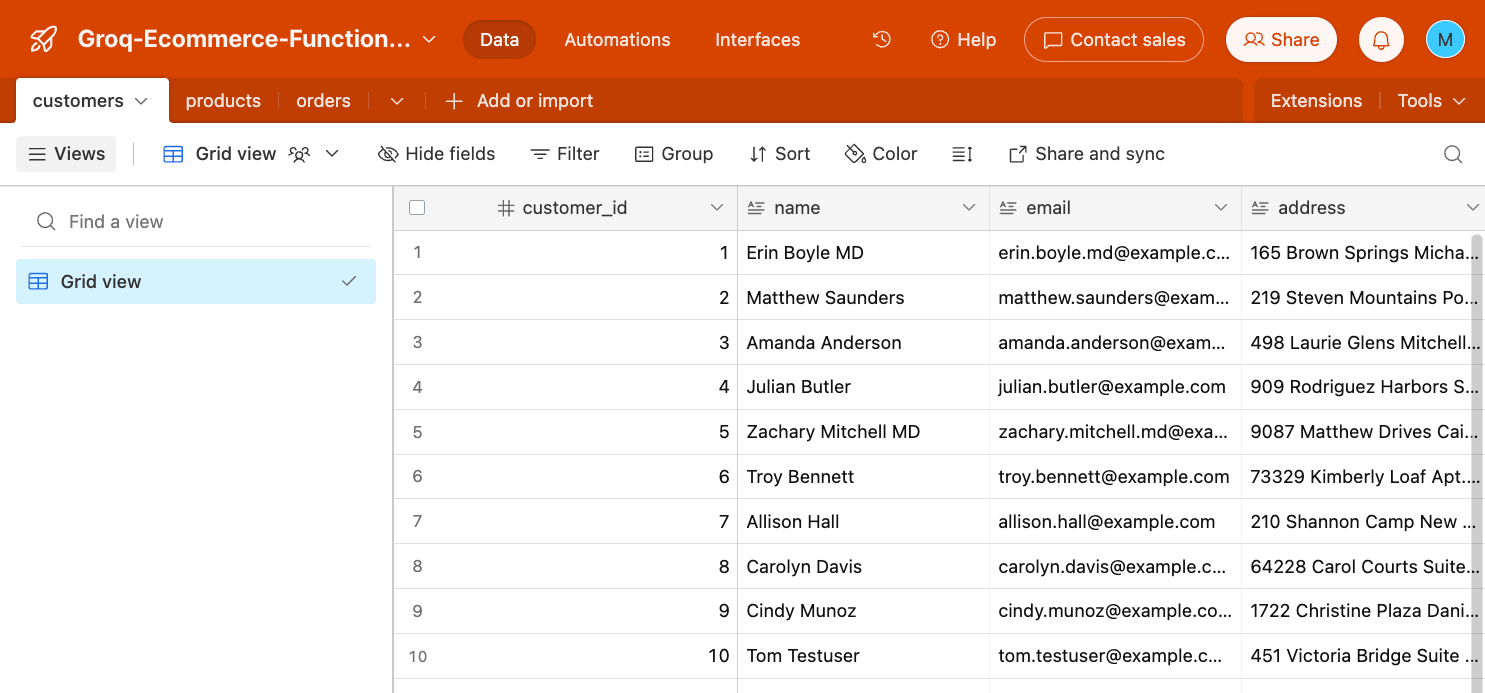
Click “copy base” in the upper banner. The flow will prompt you to create a free Airtable account and workspace.
Once this is complete, provision an Airtable Personal Access Token with this link.
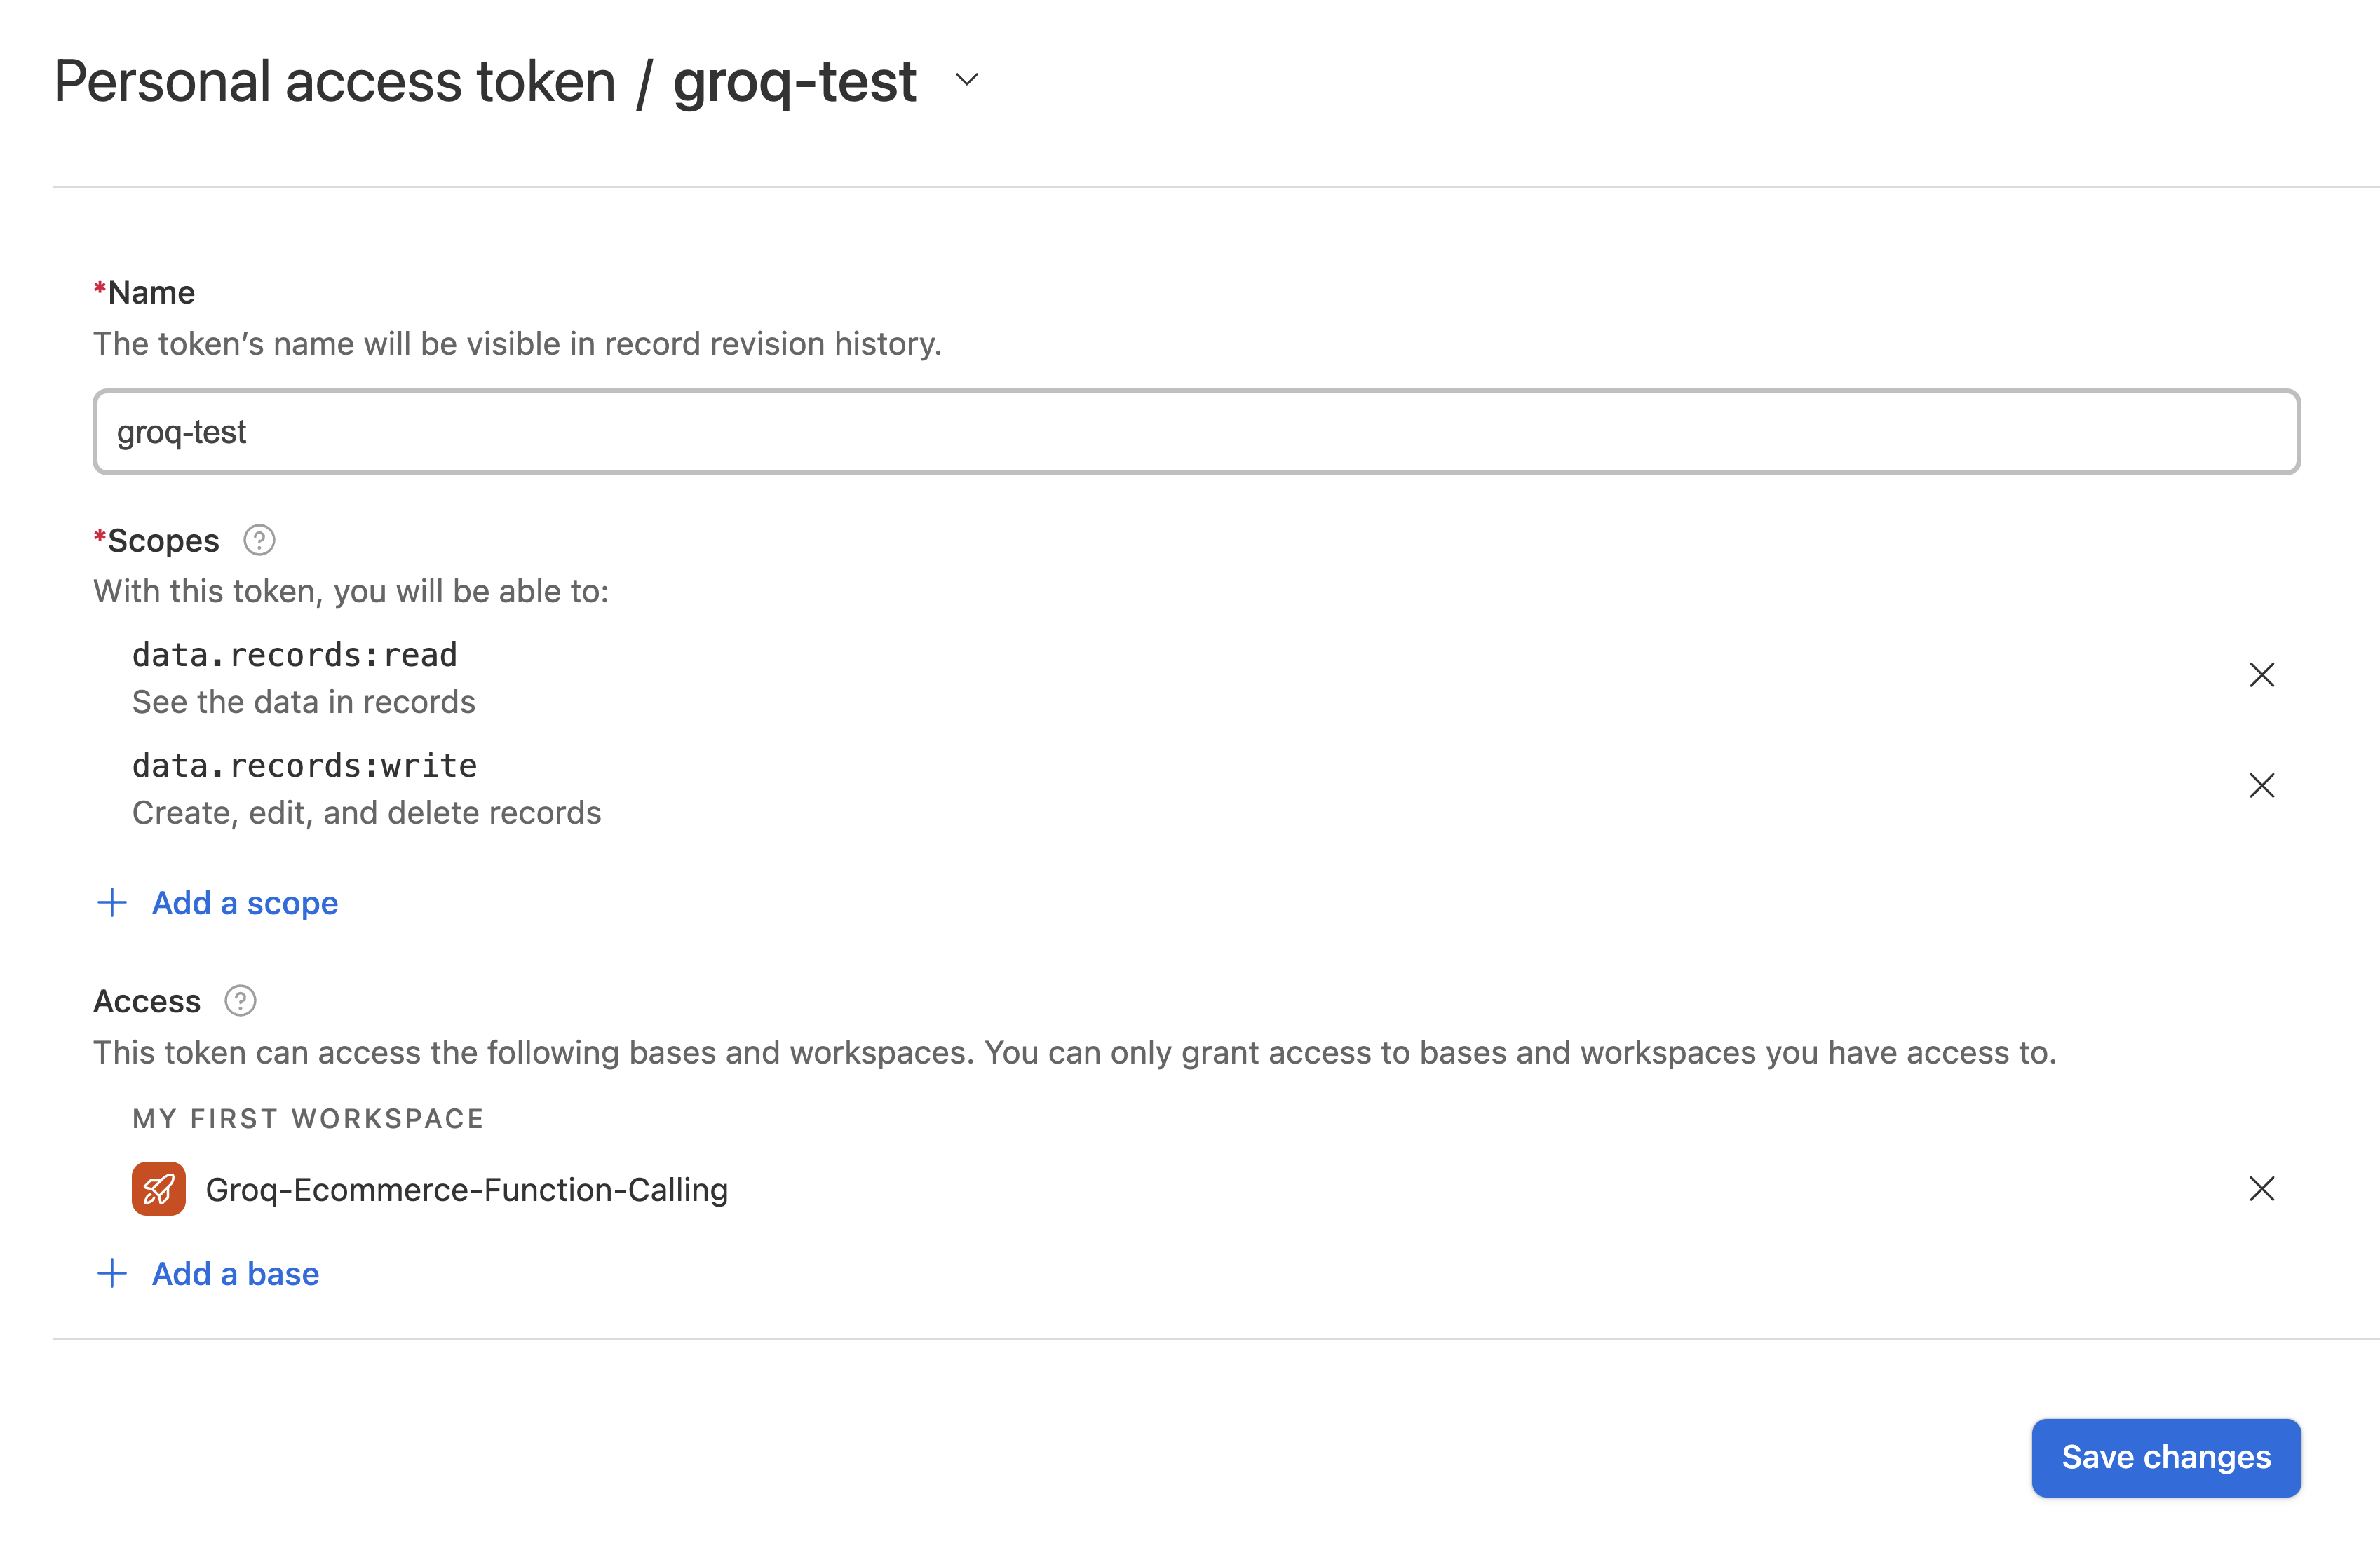
Scopes define what access this token provides. For now, add the following scopes:
- data.record:read
- data.records:write
Under “Access”, add the workspace you created with the sample data provided.
Click “Create token”. Copy the token, and paste it in the Replit Secret labeled, “AIRTABLE_API_TOKEN.”
Finally, add your Airtable base ID to the Replit Secret labeled, “AIRTABLE_BASE_ID.” This base ID can be found in the URL, and it begins with “app.” For the example data, the base ID is appQZ9KdhmjcDVSGx. Your base ID will be different. Make sure to copy your base ID.
Set up environment and initial system prompt #
Paste the following code from src/01_setup.py into the main.py file in your Repl:
Note: If you receive an error saying, “No module named `groq`”, then open the Packages pane, search Groq, and click install.
This code does the following:
- Imports the necessary packages (json, os, random, etc.) for the application
- Initializes a connection with Groq using your unique API key
- Connects to Airtabl base using your unique API token and specific base ID
- Includes a system message for the model to understand it’s role as a customer service representative
Note: The system message is a pretty neat example of how you can communicate with the models in natural language. The model will react differently if you change this prompt.
Creating the initial functions #
Next, we will create the set of functions or tools that we want the LLM to have. This is a customer support representative, so we are going to give the following tools:
- create_order - LLM can add orders to the orders table in Airtable
- get_product_prices - the LLM can search the products table and find prices
- get_product_id - the LLM can search the products table and return product IDs
First paste the code for create_order from src/02_tools.py into main.py:
Here’s what this code block does:
- First, it defines (hence “def”) the function called create_order
- For this function to work, it needs a product_id and customer_id
- Uses the AIRTABLE_API_TOKEN for authorization
- Creates a random order_id and the order_datetime
- Packages this all in a request labeled `data` and sends it to the Airtable base according to the AIRTABLE_BASE_ID
As a helpful tip, you can use Replit AI to ask for an explanation on any part of the code from this code base. Highlight the code, and click the "Explain" icon that appears:
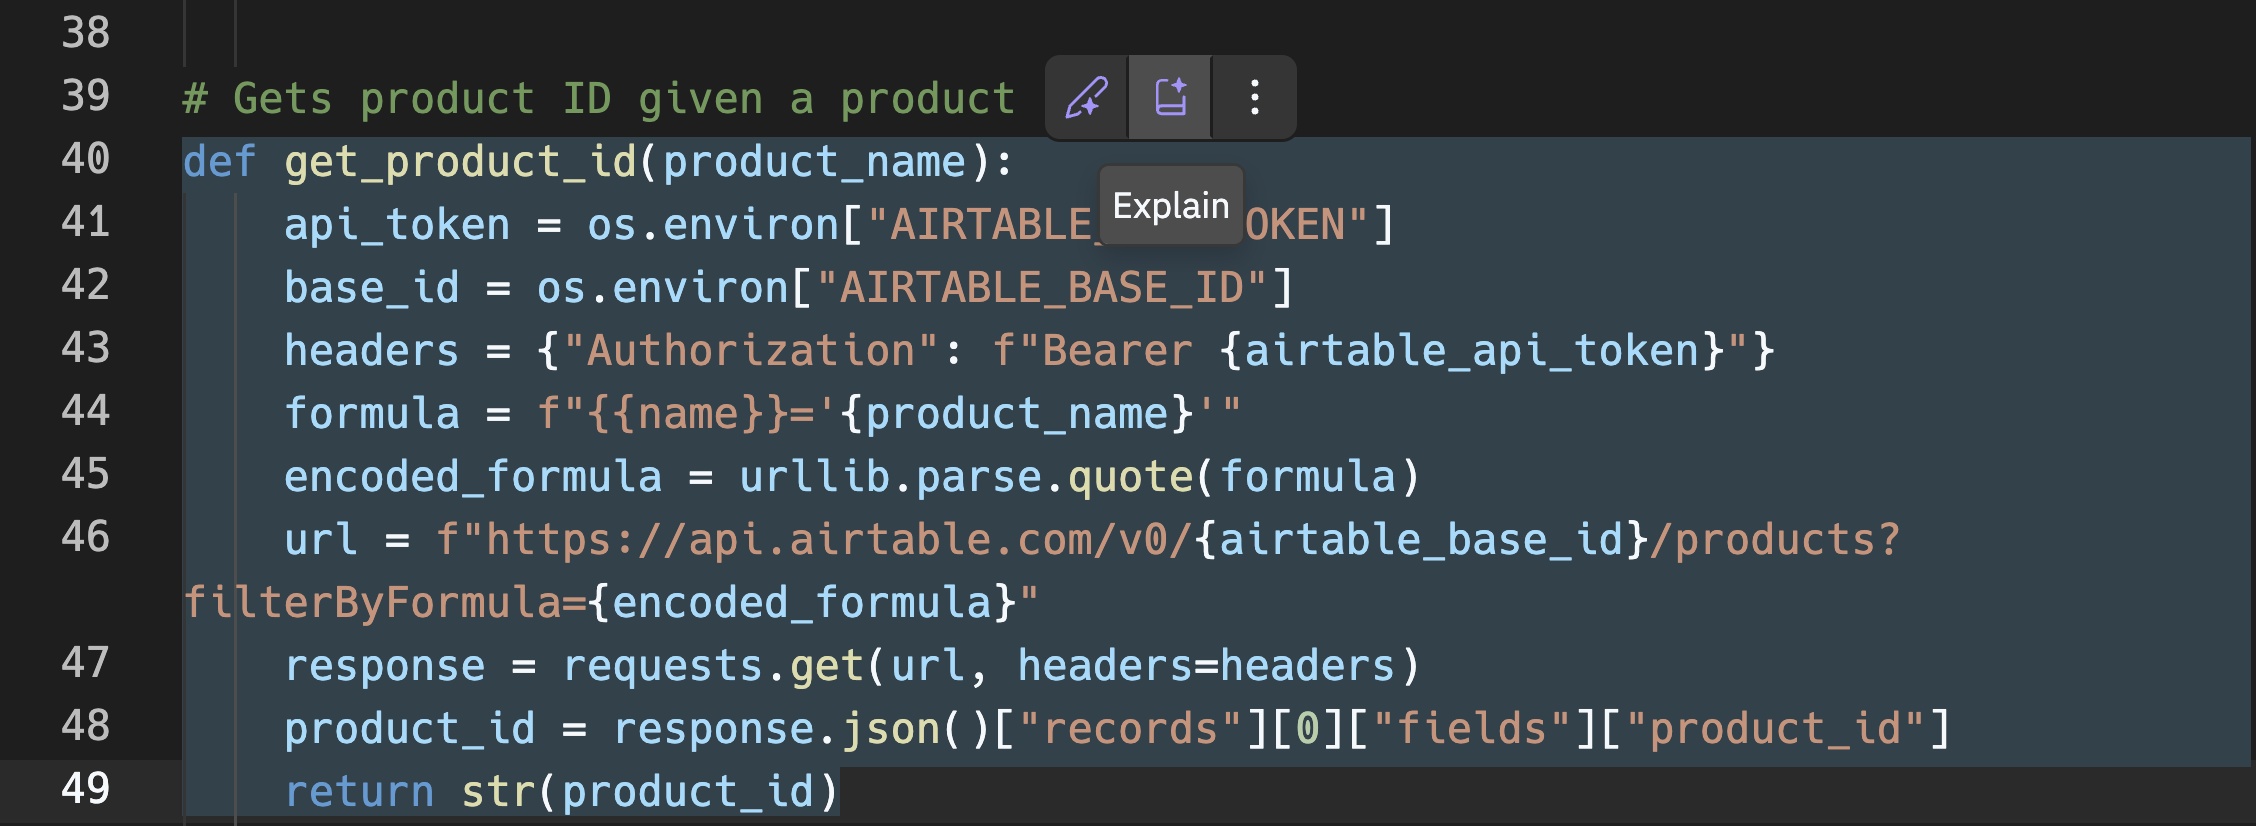
Next, we will add the code for the product prices and product id tools. The tools are also available in src/02_tools.py. We will paste them at the bottom of main.py:
Finally, we will compile all these tools into a list that can be passed to the LLM. Notice that we need to add descriptions and parameters, so they can be called properly. Paste the remainder of the src/02_tools.py into main.py:
Simple function calling #
Now that we have some tools, let’s make our first call to a single tool. We will ask the customer service LLM to place an order for a product with Product ID 5.
Calling the model with the tools #
The first step is sending the conversation and the available tools to the model. We will start by giving instructions to the user, so they know how to interact with the application. For now, let’s imagine the user’s name is Tom Testuser. Add the following to main.py:
When the program runs, it will start by giving those instructions to the user. You can click Run, and you will see that text appear in the console. Feel free to adjust the text.
But at this point, the application still does not do anything. Here’s the code to add to main.py at the bottom:
This is a lot of code, so here’s a breakdown of what it does:
- while True: - Starts the program and allows the user to continuously provide input messages
- input(“You: “) - Asks the user to input a direction
- messages = - This section takes the user input and the system message (mentioned in setup) and packages it into a format we can pass to the model
- client.chat.completions.create( - passes all of the information to Groq, including the model to use, the message, and the list of tools
- tool_calls - is a response from the model, and if it is non-empty, it means the LLM has decided to call one of the tools listed
- The remainder maps inputs to the functions being called and then produces a response, which you as the user see
Go ahead and click “Run.” You can test the application by asking a question in the console. Ask about a specific product, and see if it returns a value that matches what’s stored in the Airtable.
Adding a frontend and deploying #
Now that you have built a functioning chatbot, we should add a frontend and share it. The frontend will give a chat interface that users can interact with. Deploying it will create a permanent replit.app or custom domain to share.
Note: replit.dev urls are for testing, but they only stay up for a short period of time. To keep the project active and shareable, you need to deploy it.
In the original template you forked, we included a file called 04_final_frontend.py within the src folder. The code in this file will look mostly the same, but there are a few differences:
- import streamlit as st - We are importing a Python package called Streamlit. Streamlit makes it very easy to create a frontend for Python applications.
- st. - You will see many lines of code with st. now included like the title("Simple Function Calling"), markdown(, text.input(, and more. These lines now call on Streamlit for a frontend.
If you would like to learn more, I recommend checking out Streamlit documentation or the Replit Streamlit quickstart guide.
To use this code, we just need to configure the Repl to run the 04_final_frontend.py file and use Streamlit. To do this, find the .replit file under "Config files." Replace all of the code in the .replit file with:
Then Click "Run". You should see a "Webview" tab appear with a new user interface:
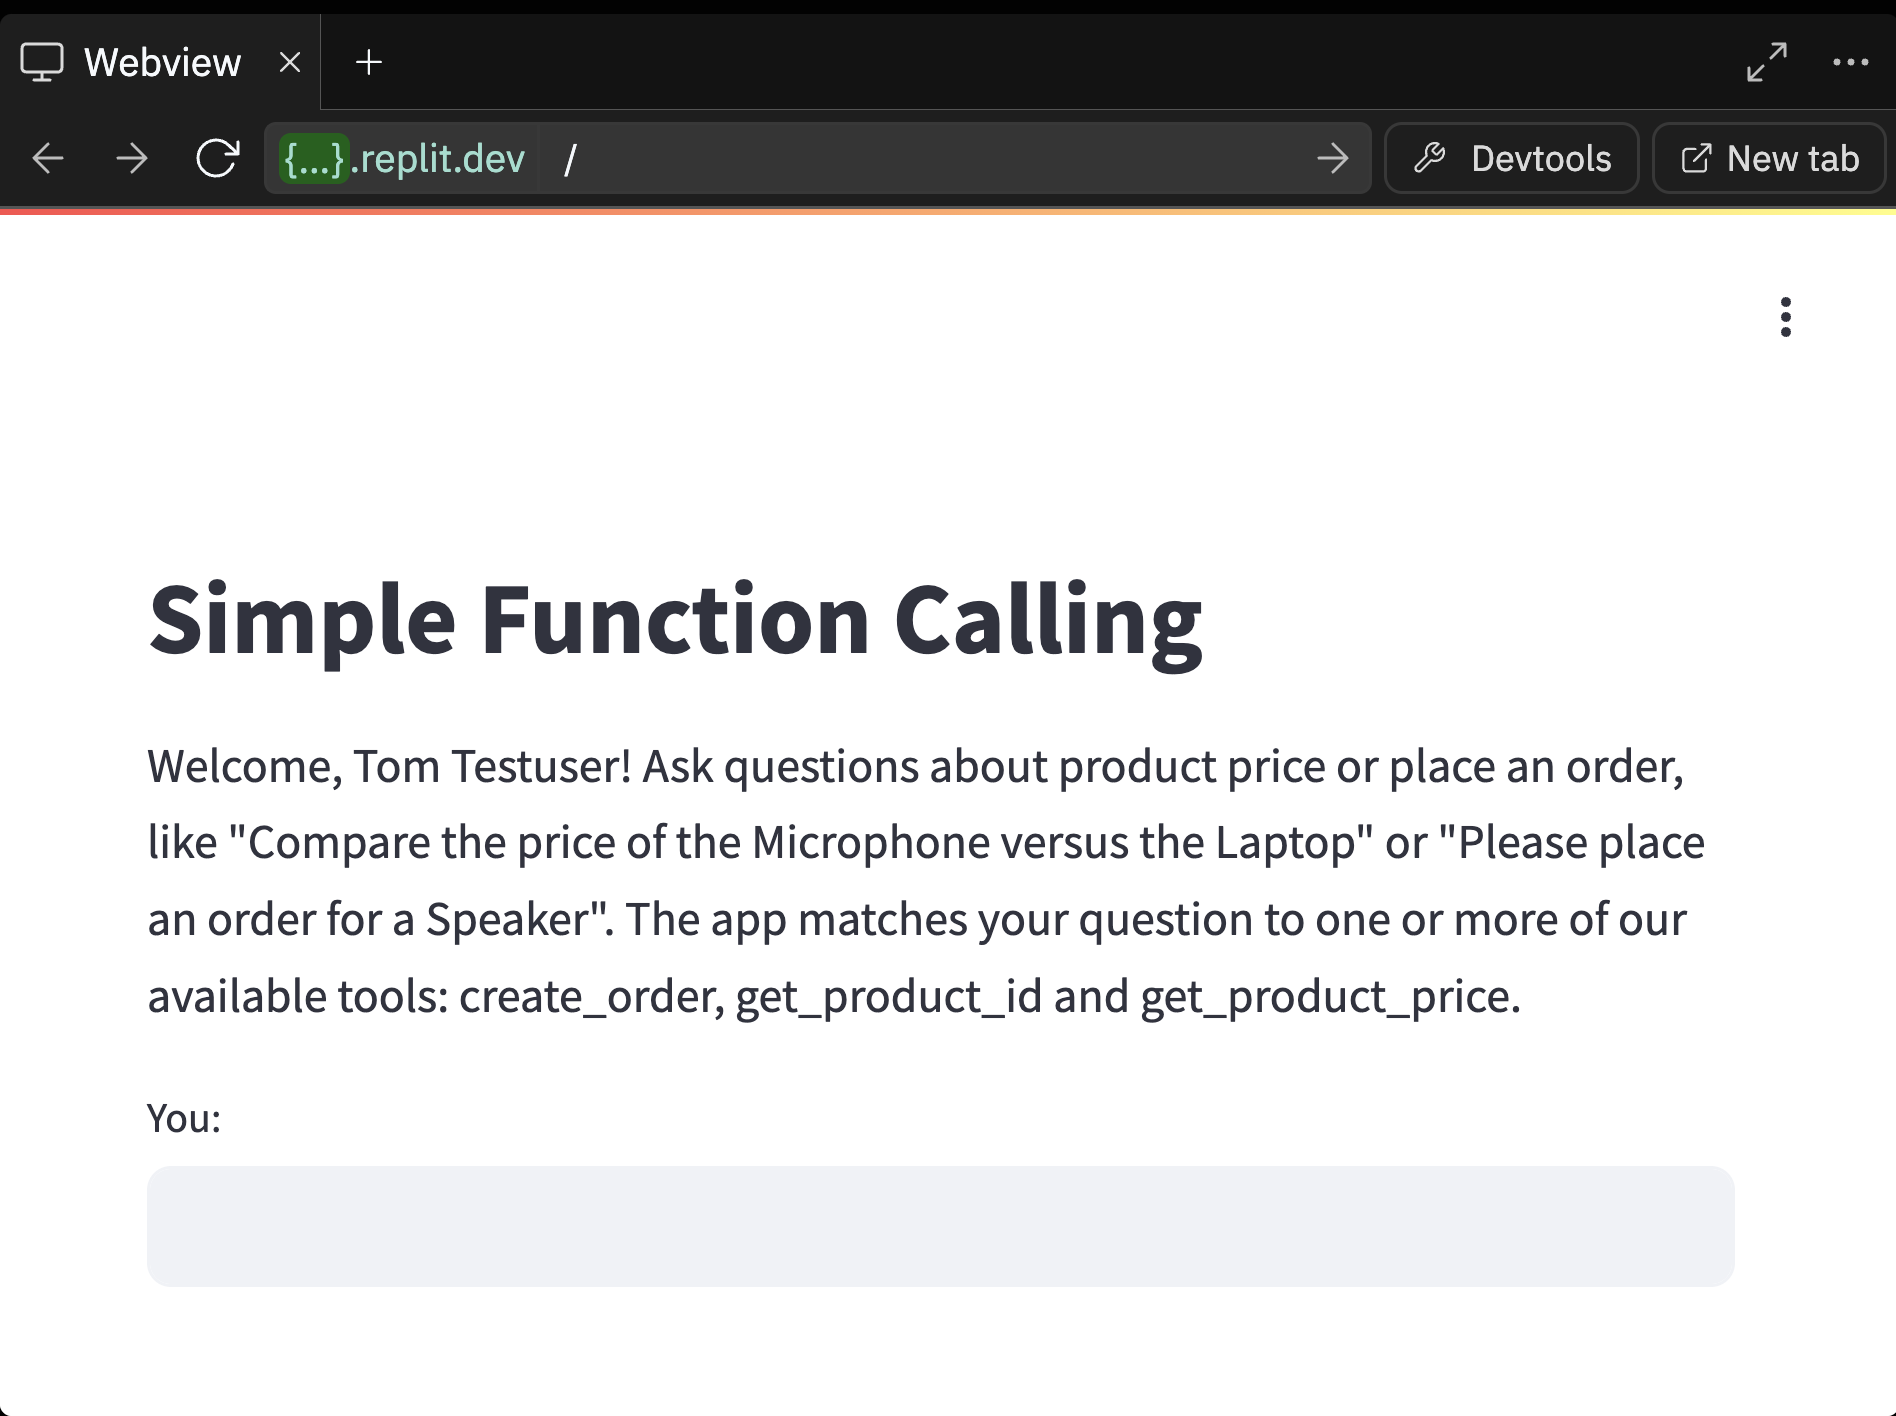
The final step is to deploy. In the top-right corner of the Workspace, you will see a button called "Deploy." Click the Deploy button.
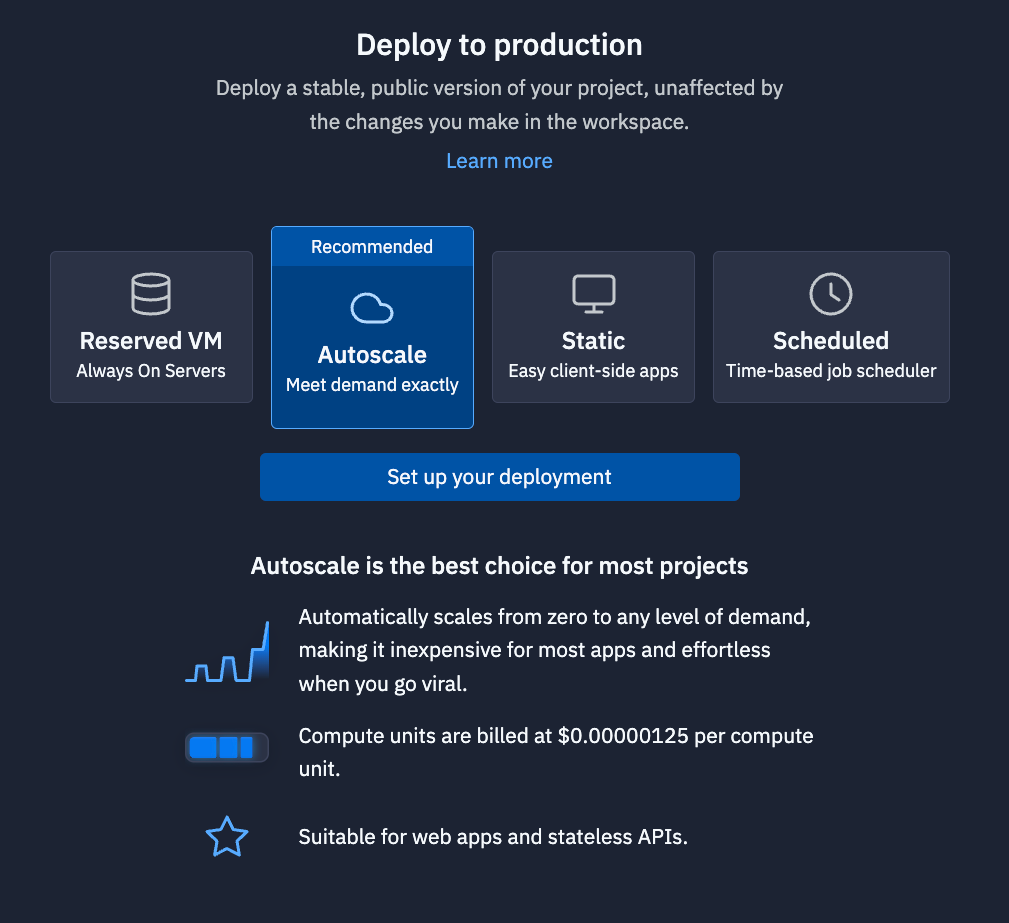
Click "Setup your deployment", and follow the steps in the pane. Once the project is deployed, you will have replit.app URL that you can share with people. (Note: Deploying an application requires the Replit Core plan. Learn more here.).
What's next #
You have now built a fully-functioning chatbot that can use tools, but there is much more we can do. Go to Part II of this guide to learn more about how to call multiple tools at once.

